Create VM template
Following chapters describe how to create a VM template from Ubuntu cloud-images. This template is used to clone actual VM's from to create eg. Kubernetes cluster
Create a VM
![]()
On the PVE (Proxmox-VE), create a new VM
Give it a high number on the ID, eg. 900
Give it a name eg. “ubuntu-2204-template”
On the OS tab, click ‘Do not use any media’

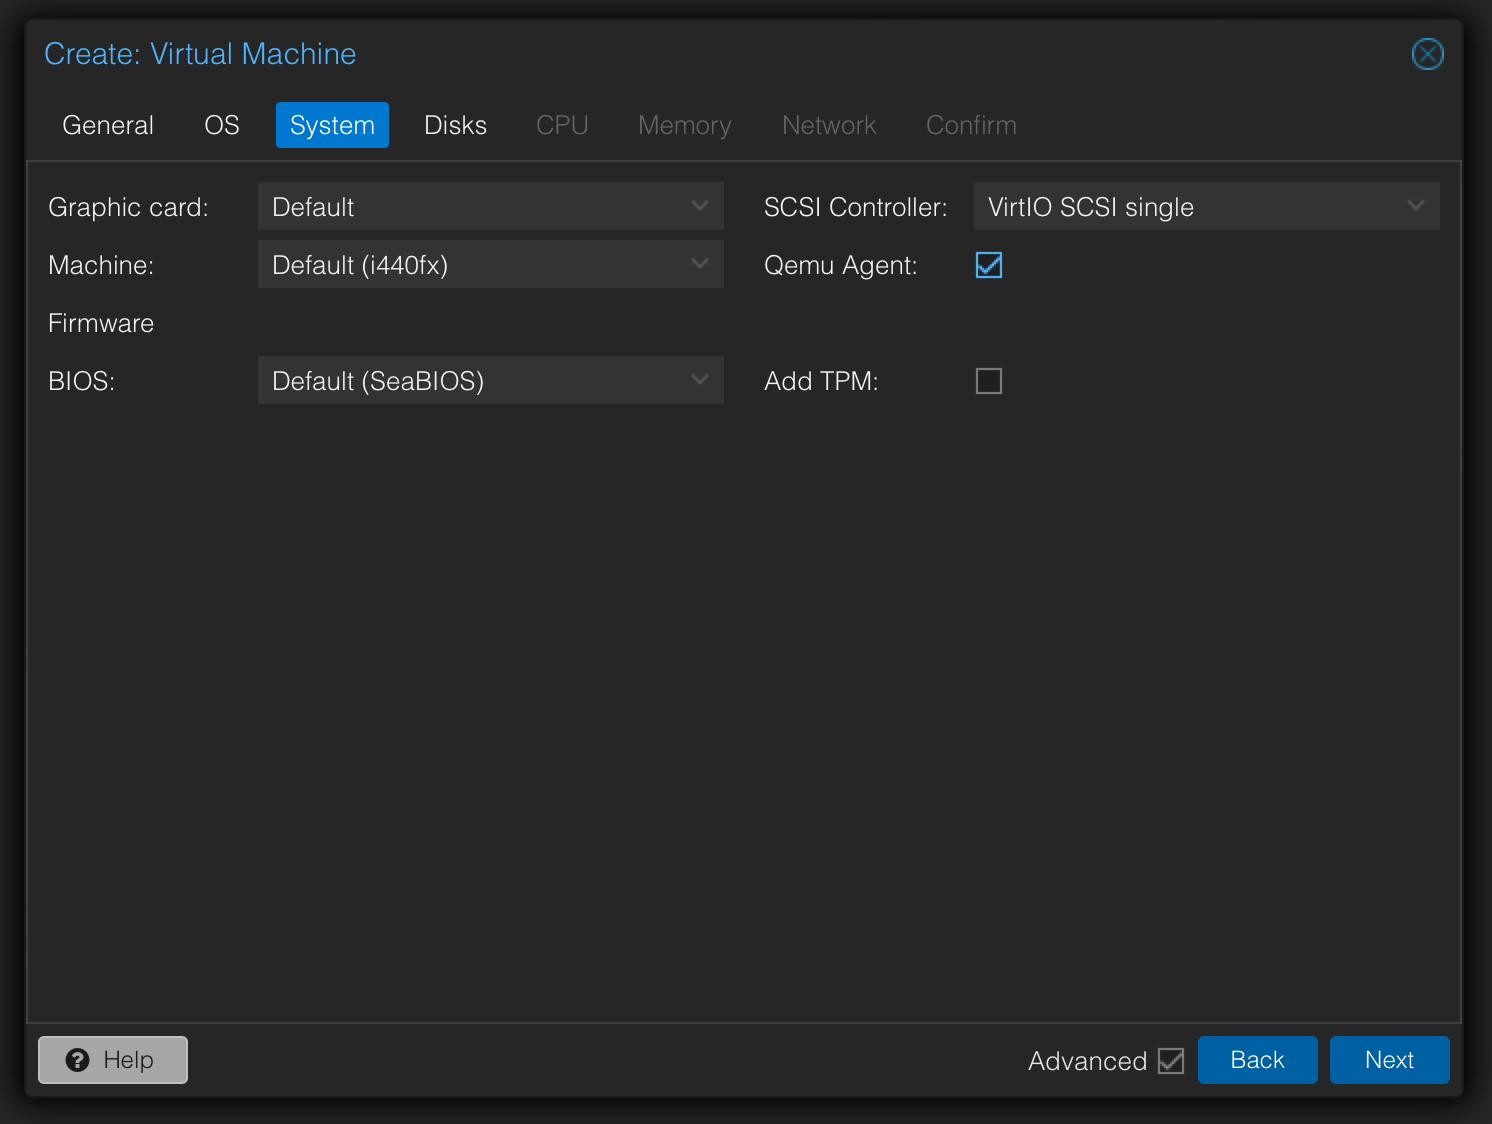
On System tab, check the ‘Qemu Agent’ box
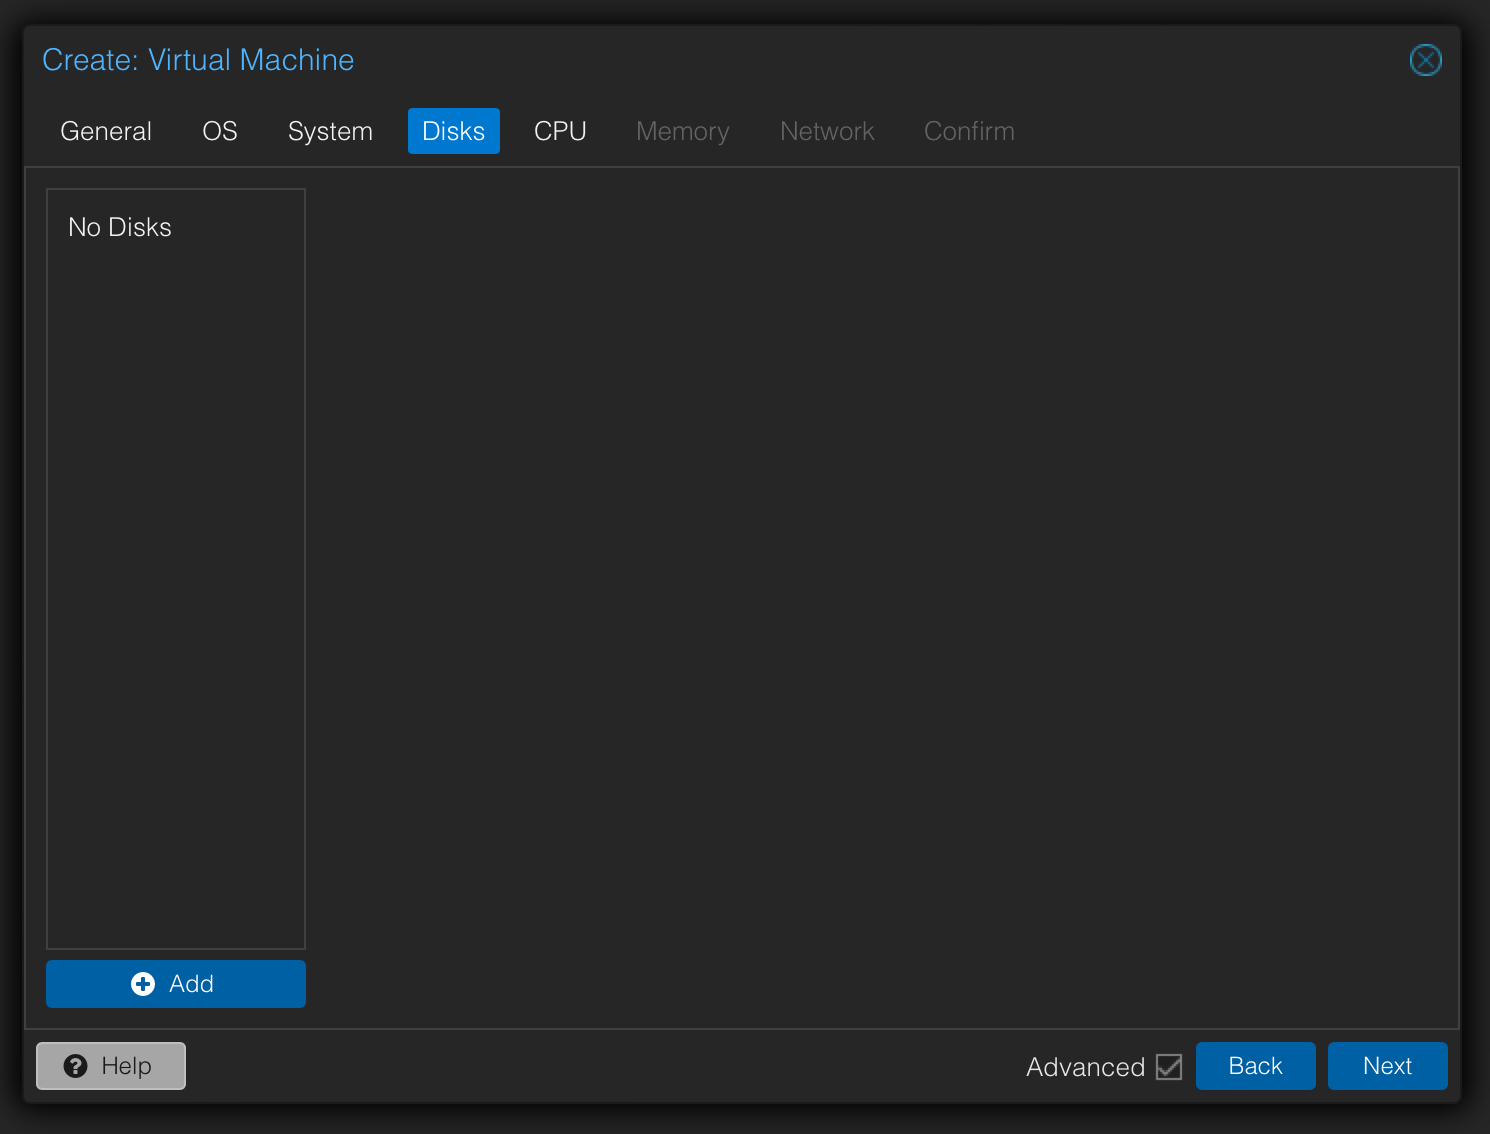
On the Disks, remove the existing scsi disk
On the CPU tab, keep unchanged

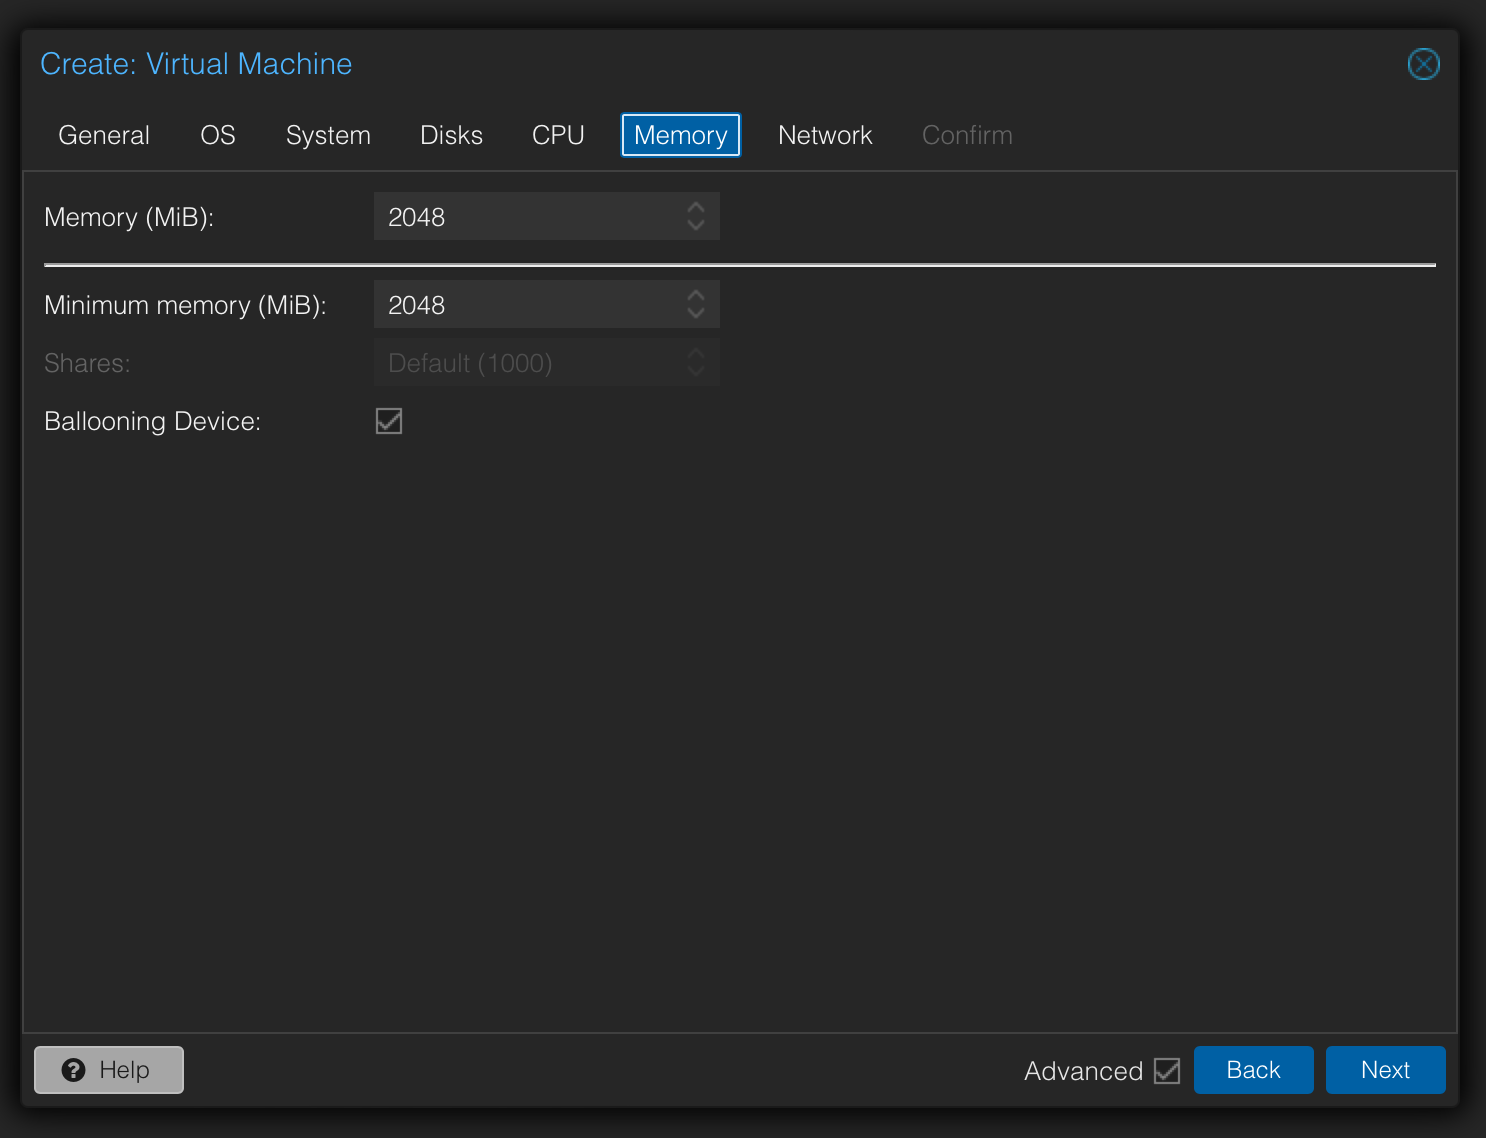
On the Memory tab, keep unchanged
On the Network tab, keep unchanged

Confirm to create VM

Change VM parameters
Select the new VM in the server view
Select the Hardware tab
Add a ‘Cloudinit Drive’
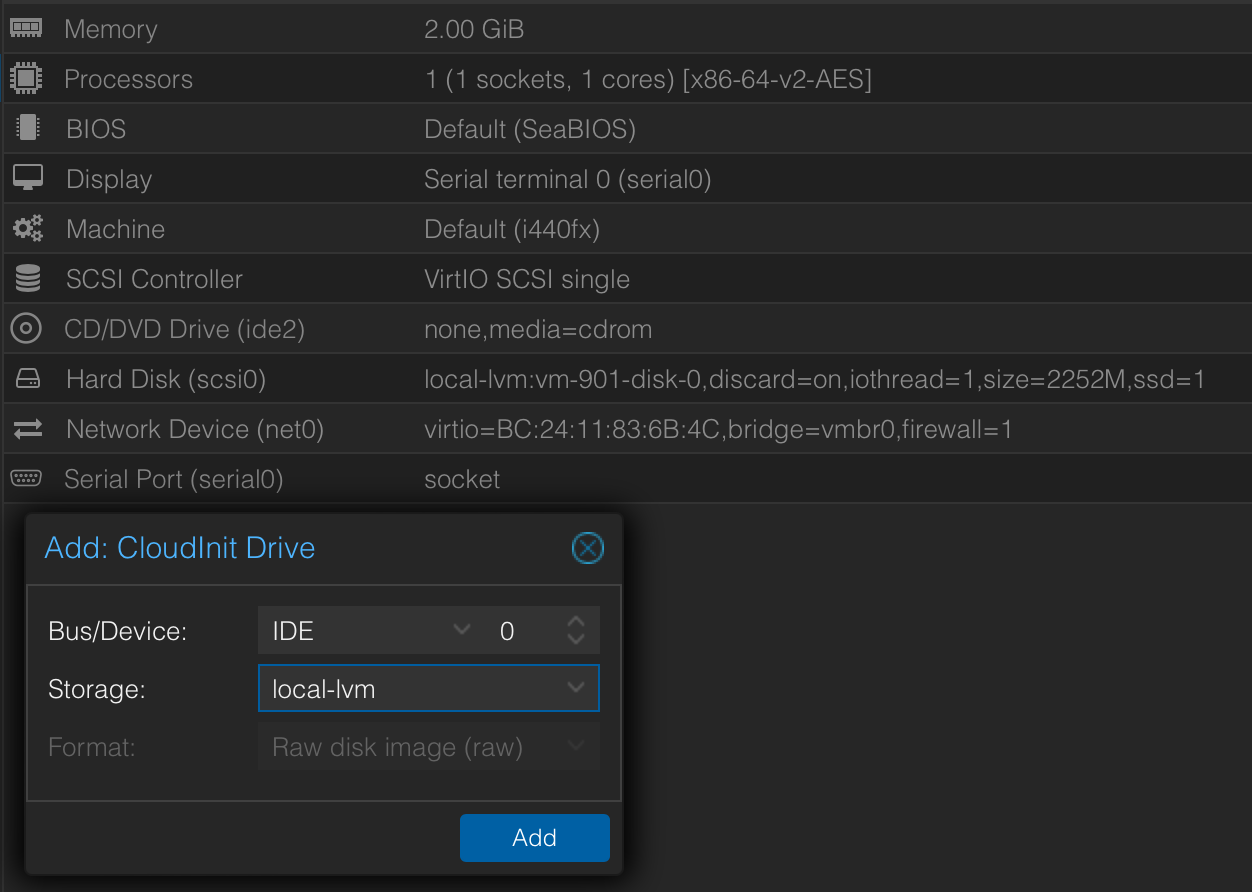
Select 'IDE-0' as a device and ‘local-lvm’ as the storage option and finish
Select the Cloud-Init tab
Specify the “User” and “Password” details
Specify the SSH keys
Select IP Config and select “DHCP” on both IPV4 and IPV6
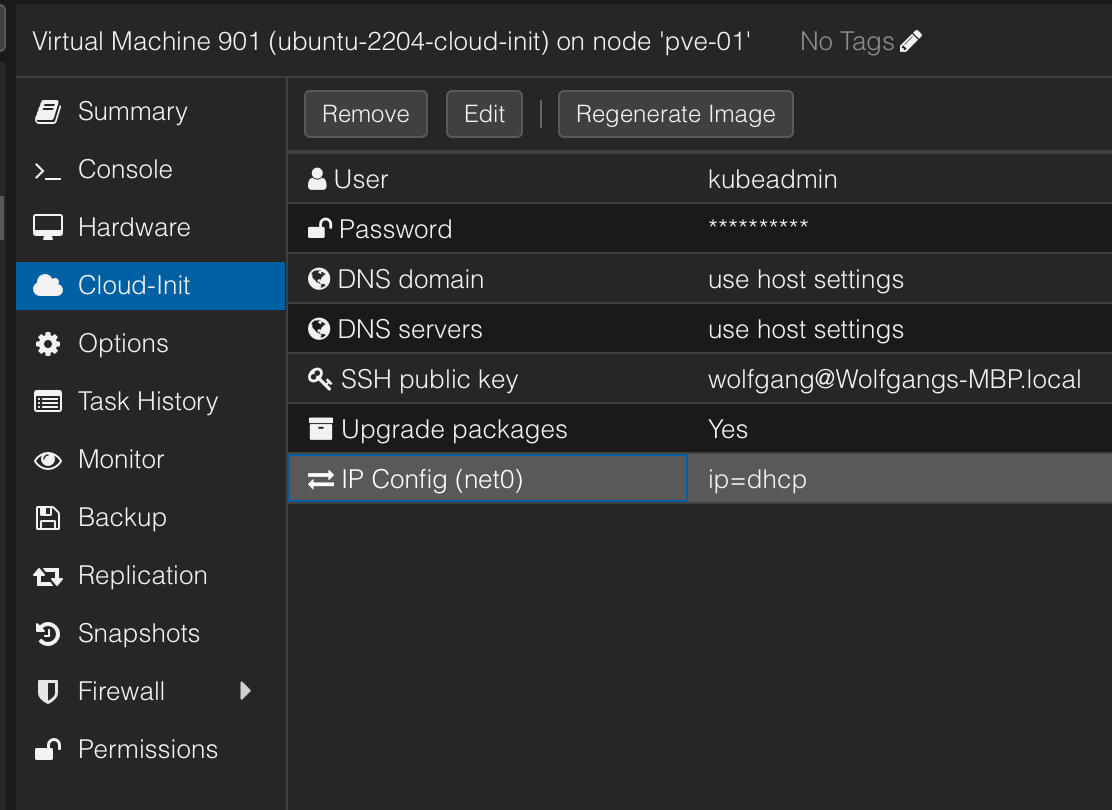
Click “Regenerate Image” in the menu
Attach cloud image
SSH into the Proxmox server
Decide which cloud image to use, eg. Ubuntu Jammy (22.04)
Switch back to GUI
Select the VM and tab “Hardware”
Double-click the line “Unused Disk 0”
If underlying disk is SSD, check the 'SSD emulation' and ‘Discard’ option
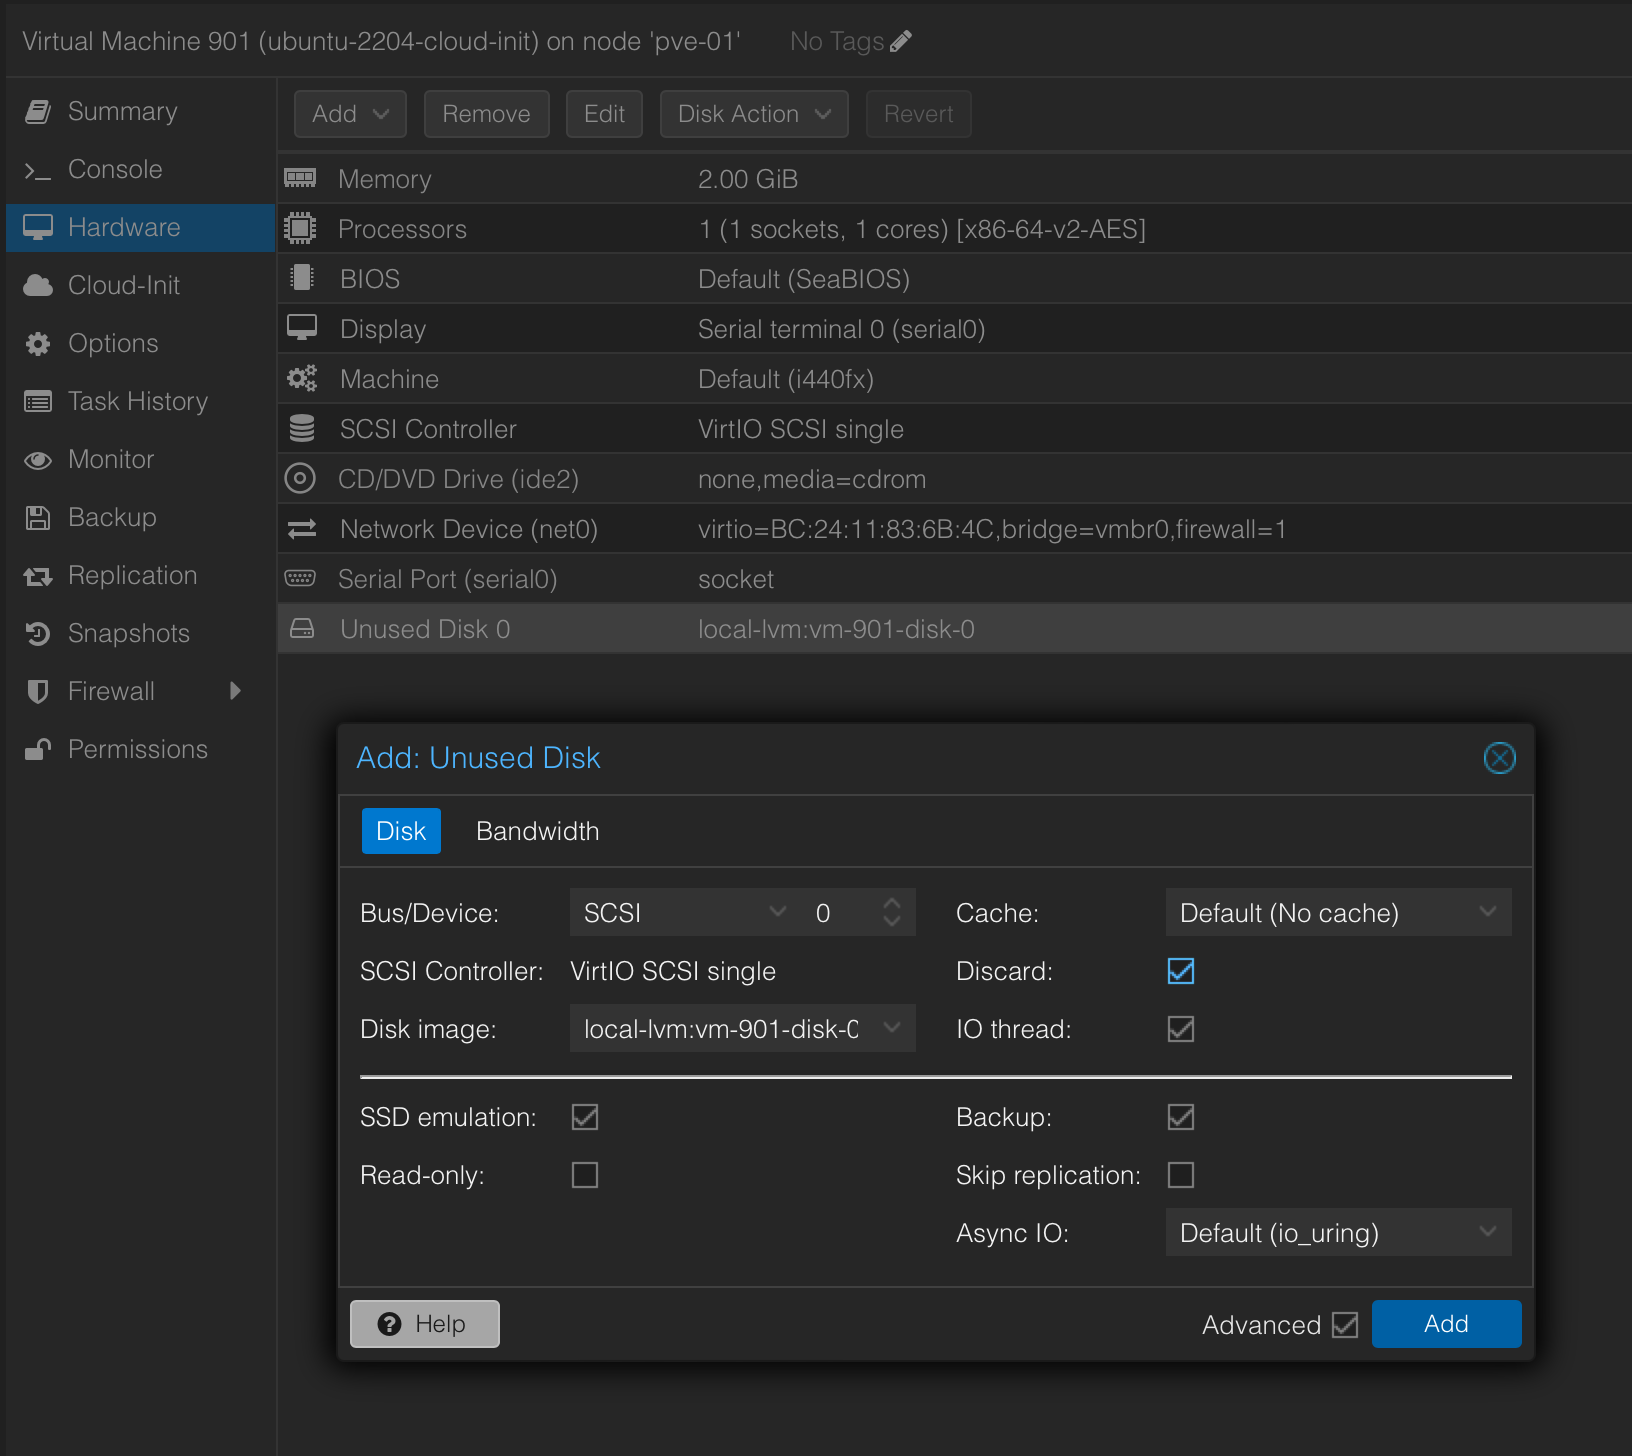
Click "Add"
Select the tab “Options” and the line “Boot order”
Check the newly added disk and drag it to e.g. the second position

Check the ‘Start at Boot’ option (optionally)
Right-click on the VM and select “Convert to template”